5 Ways to Increase Post Max Size
Many WordPress users encounter problems with the posting memory limit, which is by default set to 64MB. But this issue can be easily fixed in several ways through the control panel. We will talk through each method and show you how to change it.
How to Increase WordPress Post Max Size
Configure the .htaccess File
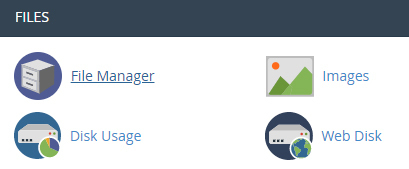
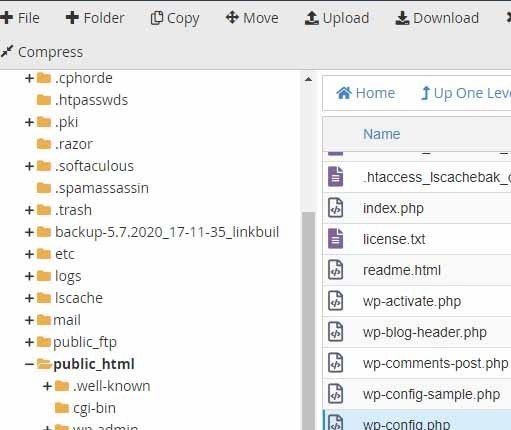
Log in to your control panel and go to File Manager under Files and then click public_html.
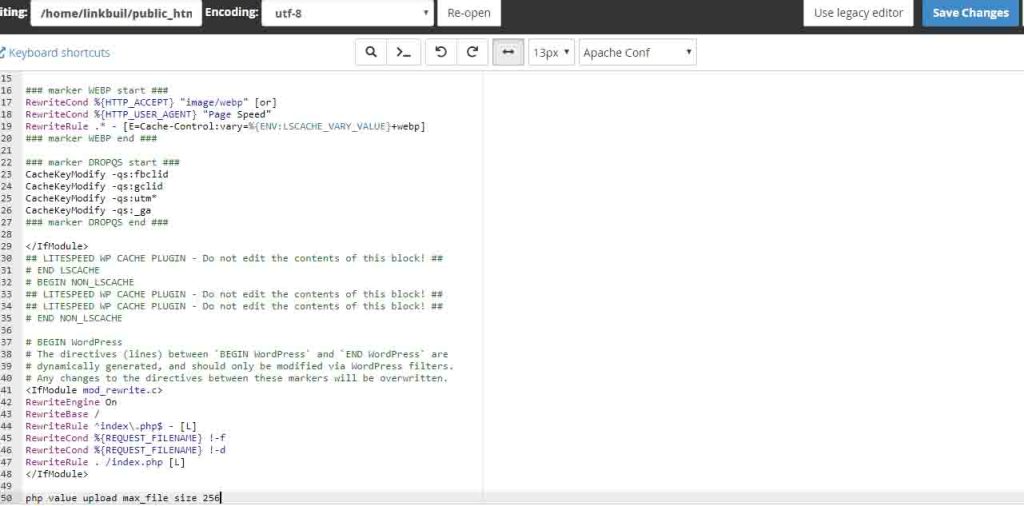
Find the .htaccess file, right click on it, and select Edit. You will be directed to the edit page.

Look for the PHP value but it may not be in there by default. So, you must add this code at the bottom:
php_value upload_max_filesize 256M This will change the post max size that can be uploaded including plugins or other files to 256 megabytes. Click Save Changes at the upper right side of your screen.
Edit the wp-config.php File
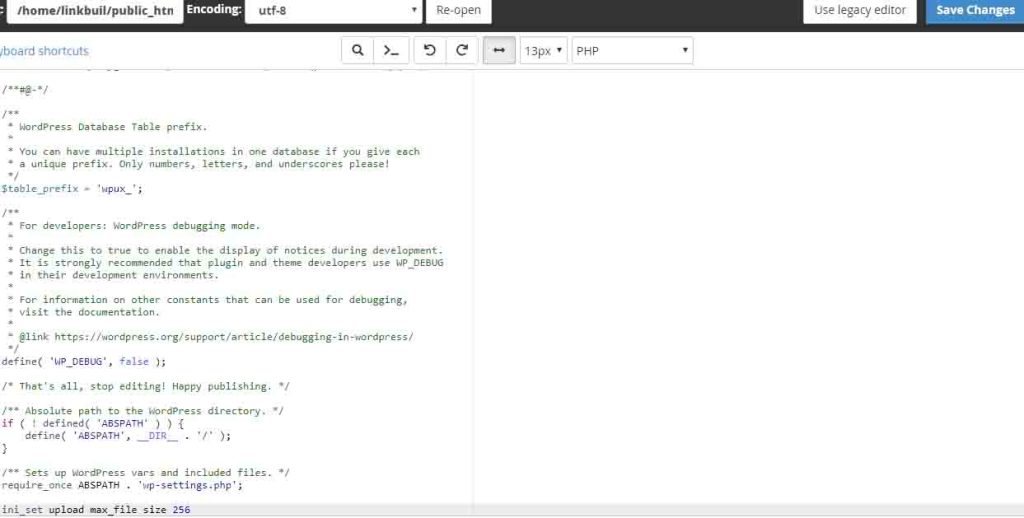
From your public_html directory, look for the wp-config.php file, right click on it, and select Edit.

On the edit page, look for ini_set. If you cannot find it, enter this code at the bottom:
ini_set(‘upload_max_size’, ‘256M’)
Click Save Changes.
Need fast, secure, and reliable hosting for your website? Innzone Hosting provides all of this and 24/7 world-class support. Check out our plans today.
Create the php.ini File
This method requires you to create a file from scratch and upload it to the public_html directory in your control panel. To do this, open your Notepad and copy and paste this data there to create the php.ini file:
- upload_max_filesize = 256M
- post_max_size = 256M
- memory_limit = 512M
- max_execution_time = 180
Creating this data allows you to increase the post max size you can upload (upload_max_filesize), increase the post max size you can save (post_max_size), adjust the amount of memory WordPress uses (memory_limit), and adjust the amount of time the server will take to execute a task (max_execution_time).
Save it in your local drive and make sure it is saved as All Files or All Documents.

Upload the file to your public_html directory by clicking Upload at the top of the directory page in your control panel.
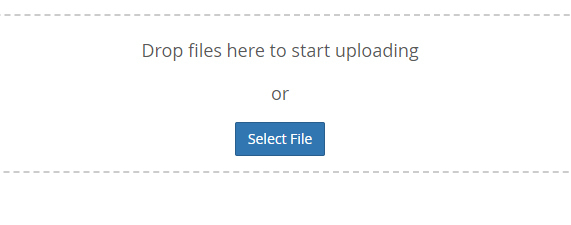
You will be directed to the upload page. Click Select File to upload the file you created from your local drive.
Once the upload is complete, click the Go Back to “public_html” link at the bottom to go back to the directory page.

Check the directory and you will see your uploaded file in there.

Configure the Settings of PHP Version in Your Control Panel
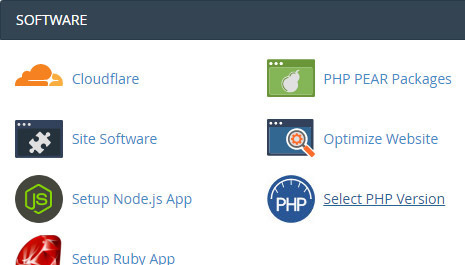
Go to your control panel main page and scroll down to the Software section. Click Select PHP Version.
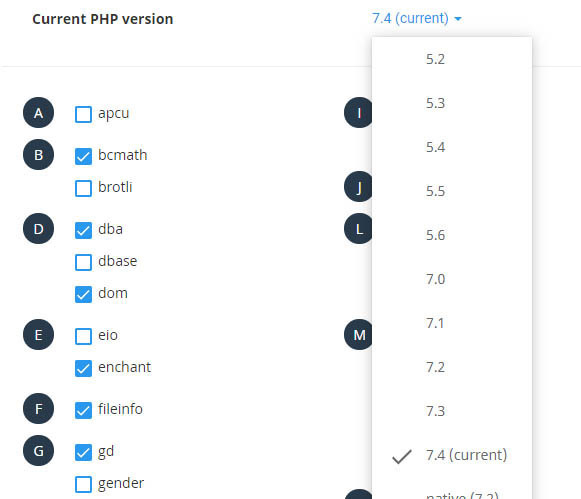
On the PHP Selector page under the Extensions tab, click the dropdown selection for Current PHP version and make sure it is the current one. Make sure to choose the latest version of PHP as the improvements include speed and security to make your site faster and more secure.
If you click on the Options tab, you will see there the settings you need to change, such as post_max_size, upload_max_filesize, memory_limit, and max_execution_time. Input the details on the fields you need to change and select the sizes from the dropdown selections.
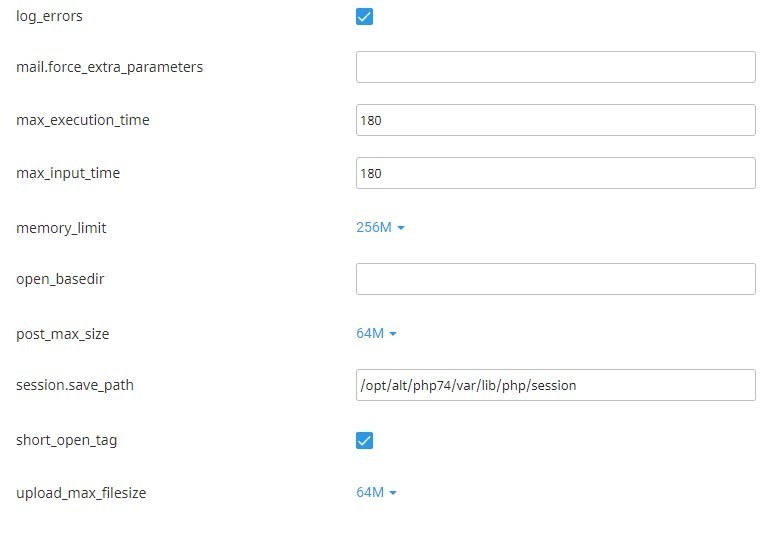
As you change something on that page, it automatically saves the changes made.
Send Innzone Hosting an Email
If you do not have time to do the configuration yourself, you can email our Support Team. Tell us that you want the post max size to be increased and we will be happy to assist you.
Conclusion
Fixing the issue on how to increase your WordPress memory limit is extremely easy and simple. You can choose from any of the number of ways presented above to increase your max post size.
To make your life even easier, you can directly email us through our support channels.
Latest Stories
© Innzone Hosting. All rights reserved.