How To Update WordPress
Do you need to update your WordPress version? This Post will show you how you can update WordPress in two ways!
How to Update WordPress from cPanel
Check Updates in WordPress
The first thing you need to do to update the current version of your WordPress is to check if it needs to upgrade. To do this, go to Home from your Dashboard menu and then click Updates.
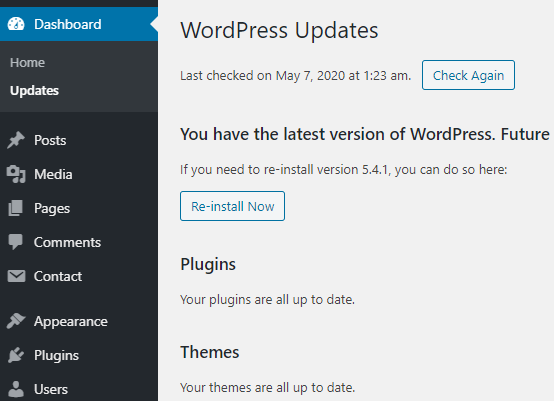
If there is an update available for your site, you will see that there. If so, click the update button that shows up.
Update WordPress from Uploads Directory
You can also manually install an updated version of WordPress. To do this, follow these steps:
Download the Files for the New Version
To download the latest version of WordPress, go to this URL https://wordpress.org/download/ and click the download button on the site. Once the download is complete, go to your computer and locate the downloaded file. Extract the files to WordPress 5.4.1
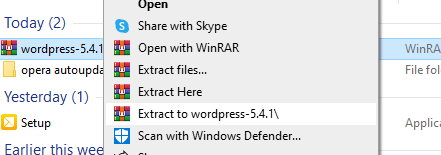
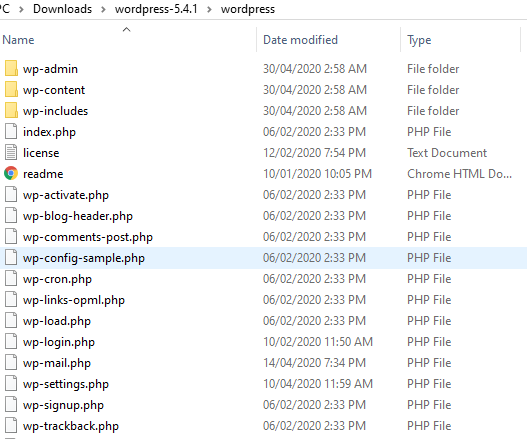
After unpacking the zip file, check the wordpress-5.4.1 folder, and you will see all the files included to update WordPress.
Deactivate Plugins
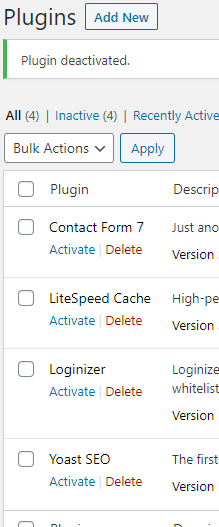
Deactivate all the plugins for your website by going back to WordPress. Go to Plugins from your Dashboard menu and then click Installed Plugins. Click Deactivate for each plugin.
Update Files for the Current Version
Go to your control panel and remove the old wp-admin and wp-includes directories. To do this, log in to cPanel and go to File Manager.
We recommend taking a full backup before doing any update of WordPress. Never delete any files in your WordPress Installation folder.
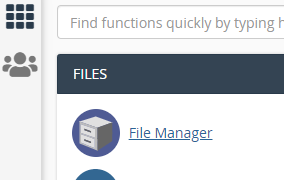
Navigate to the public_html folder on the left side of your screen. Inside the folder, locate wp-admin and wp-includes directories.
Upload the wp-admin and wp-includes folders from the downloaded file to your web host, using FTP replacing only the wp-admin and wp-includes directories.
Locate the extracted wp-content folder on your c: and upload files like index.php that have been updated to overwrite files in the wp-content folder in your cPanel account. Do not replace or overwrite the themes or plugin folder inside wp-content.
For the individual files in the updated version without folders, upload them to the current root directory as well. When you are done with the upgrade, WordPress might ask you to log in again. WordPress might also give you more instructions after the upgrade, so simply follow them.
Re-activate Plugins
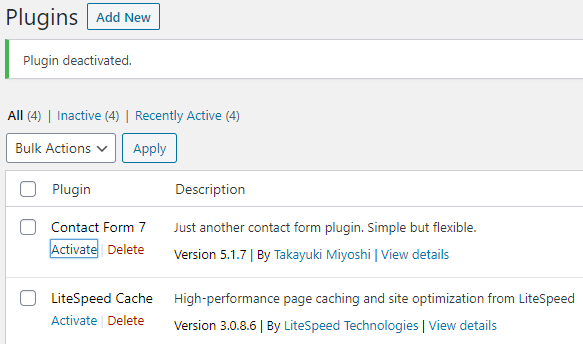
Go to Plugins from your Dashboard menu and then click Installed Plugins. Click Activate for each plugin installed and wait for each activation to be completed.
Need fast, secure, and reliable hosting for your website? Innzone Hosting provides all of this and 24/7 world-class support. Check out our plans today.
Clear Cache
To complete the entire process, you need to clear your website’s cache.
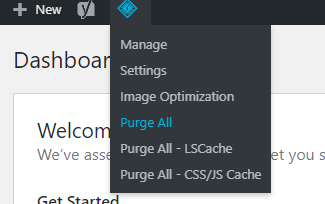
At the top of your screen, hover over to the icon beside the Yoast SEO icon and select Purge All to remove the files and folders that are in cache. You will then get a message that clearing of cache was successful.
Check your website to see if it is functioning well by going to My Blog and then View Site.
An Important Reminder When Updating WordPress
One important thing to note is when you accidentally click back on WordPress while it’s still processing an update, you will get an error “Briefly unavailable for scheduled maintenance’ error in WordPress?” This means the page is stuck in the upgrade process.
You can only get out of this scenario if you delete a file from your web host. To do this, go back to your control panel and go to the public_html folder. Look for the .maintenance file, right click on that, and then click Delete.

Go back to your WordPress website and refresh it. You will see it working normally again.
Conclusion
Updating WordPress is that easy! Make sure to wait for every step to complete before going to the next to avoid errors and delays.
Check your website now and do not miss any updates from WordPress!
Latest Stories
© Innzone Hosting. All rights reserved.