
How to Add Google Tag Manager to WordPress for Easier Data Analytics Tracking
What is Google Tag Manager? It is an analytic tool for WordPress that allows you to gather data about your website’s performance in the search engines. Installing it to your WordPress website is beneficial especially for businesses that are starting to build their site traffic. To help you better understand, we will discuss how it works and how you can install it to your website.
What Does Google Tag Manager Do?
Google Tag Manager allows to monitor your site traffic, conversions and to collect other analytical data. Installing it on your WordPress site makes it easier for you to have a full picture of your site on an easy to read dashboard. This includes where your traffic originated from, the device and the keyword used to find your website.
How to Install Google Tag Manager on WordPress
Step 1: Create a Google Analytics Account
If you do not have an account with Google Analytics, you should create one first. Otherwise, skip this step and proceed to the next step.
Visit Google Analytics to sign up. Click Set up for free to start filling in your Gmail account credentials.

You will be directed to the Account setup page. You can enter the name of your website for the Account name field. Click Next once done.

Select from the platforms the option you want to measure. Click Next.
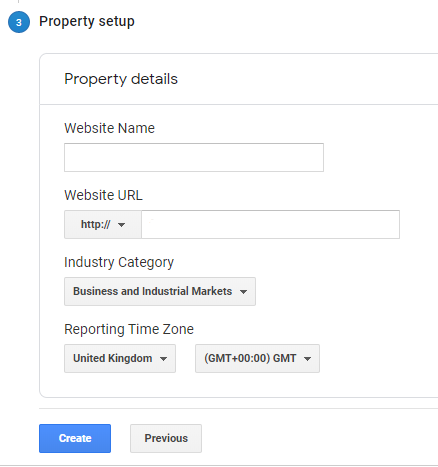
Fill in the details needed for your website. Click Create once done.
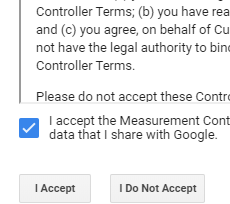
Read the terms of service agreement and tick the boxes if you agree. Click I Accept at the bottom once done.
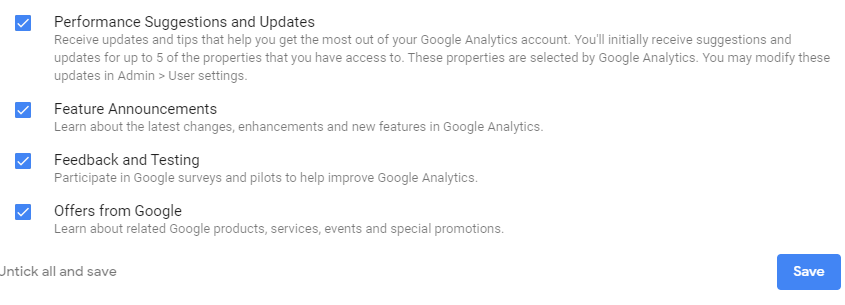
For the email notifications, you can tick all the boxes if you want to receive updates from Google. Click Save once done.
Step 2: Set Up Google Tag Manager
Go to Google Tag Manager page and sign up using the same account you used on the previous step. Click the Start for free button.

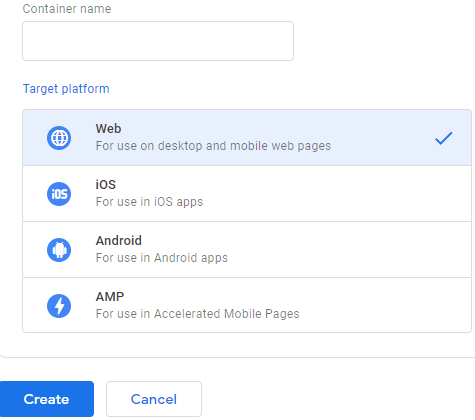
Fill in the necessary details for your account. Click Create once done.
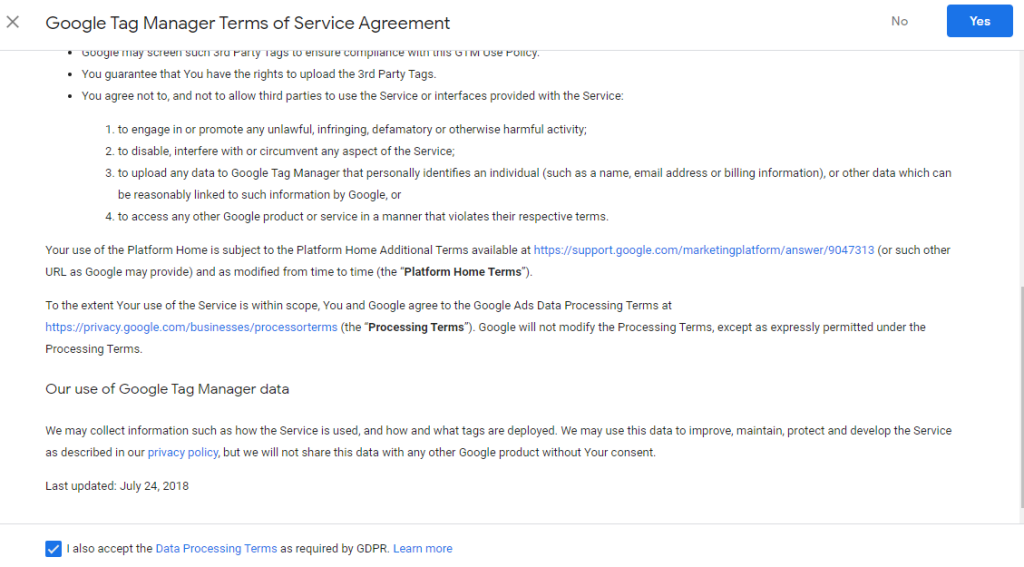
Read the terms of service and tick the box if you agree. Click Yes at the top once done.
Step 3: Install a Headers and Footers Plugin
Log in to your website, go to Plugins from your Dashboard menu, and select Add New. Search for Header and Footer Scripts on the search box.
Once the plugin appears, click Install Now and then Activate.

Go to Settings from your Dashboard menu and select Header and Footer Scripts.

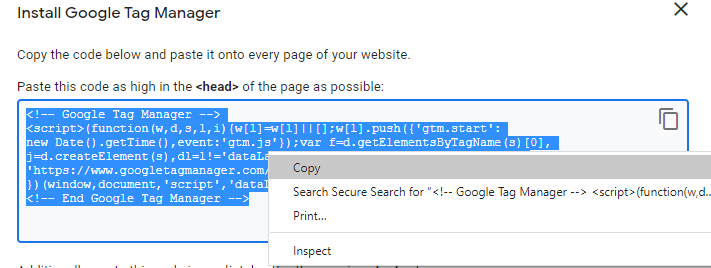
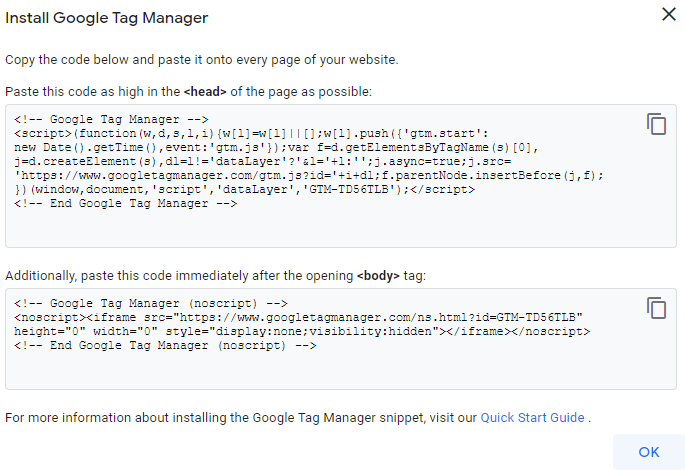
Go back to Google Tag Manager and copy the code for the <head>.
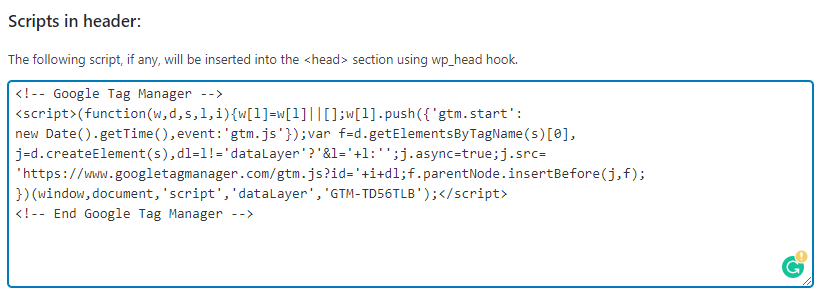
Paste it on WordPress under the Scripts in header and then click Save settings.
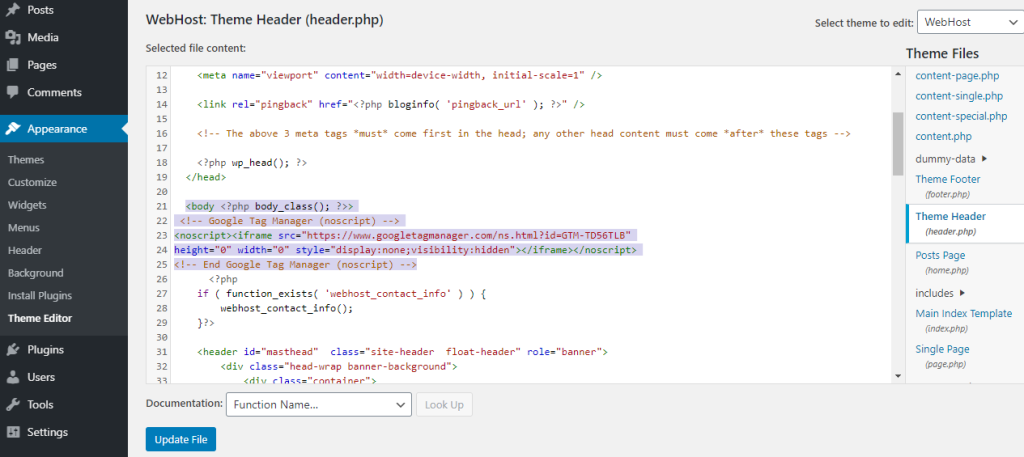
Go to Appearance from your Dashboard menu and select Theme Editor. Look for Theme Header and click it once you find it.
Go back to Google Tag Manager and copy the code for the <body>. Paste it after the “<body>” tag and click Update File.
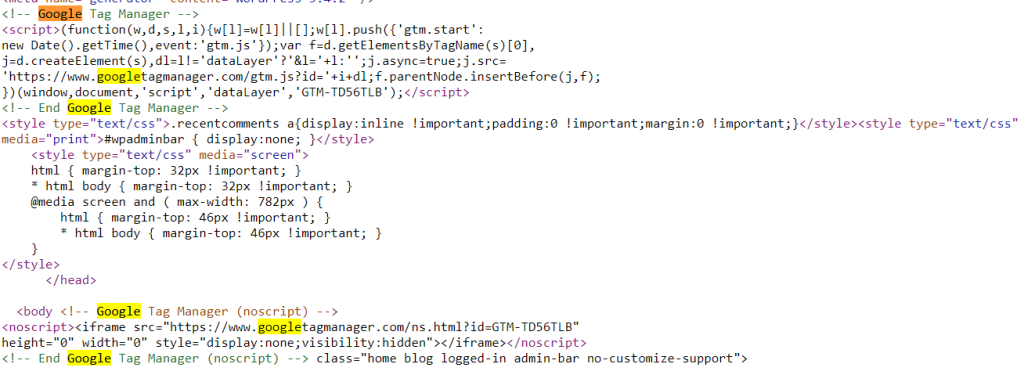
To check the codes you pasted, go to your website. Right click anywhere on it and select View page source.

You will see the Google Tag Manager tags you configured on your WordPress.
Go back to Google Tag Manager and click OK on the pop-up message.
Step 4: Create a New Tag
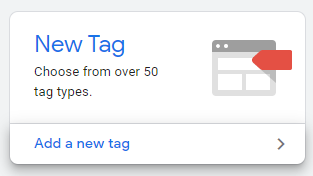
On your Google Tag Manager dashboard screen, you will see a New Tag section. Click on Add a new tag.
Configure Tag Configuration and Triggering. For the variable, you need the tracking ID provided by Google Analytics when you signed up earlier.
Go back to your Google Analytics account and go to Tracking Code. Copy the code from there.
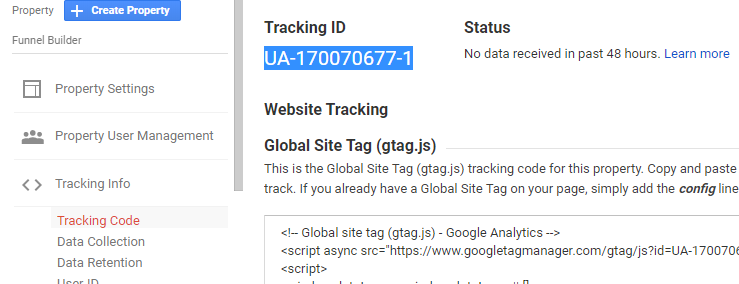
Paste it to your Google Tag Manager and click Save. It may ask you to rename the variable so prepare a name or label for it.
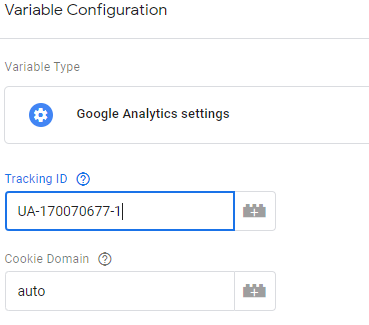
Click Save for the new tag you created.
Step 5: Push Analytics to Your Website
This step allows you to see the data for your website that analytics provides real time. To do this, click the Submit button at the upper right side of your Tag Manager dashboard.

Fill in Version Name and Version Description. Click Publish once done.
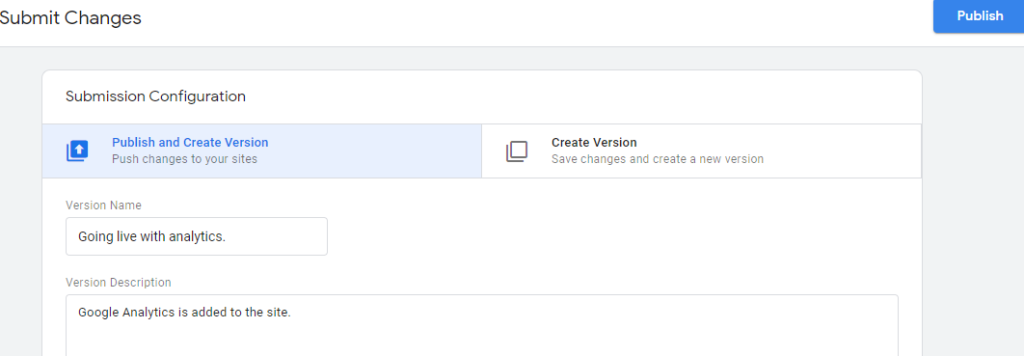
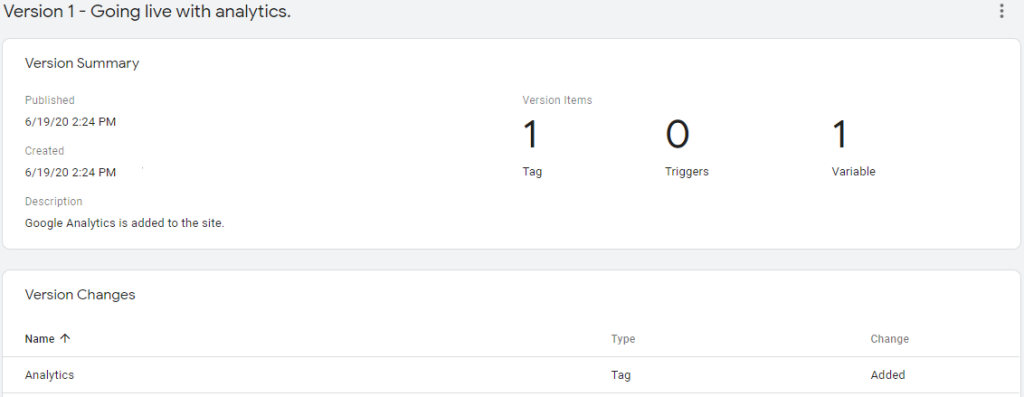
You will then see that your website is live with analytics.
If you go back to your Google Analytics account in the Tracking Code section and refresh it, you will see it is showing a site visitor, which is you. This means that Google is already giving you real-time data.

Conclusion
Enabling or installing Google Tag Manager to your WordPress website makes analytical data tracking easier. You only need to create an account with Google Analytics if you do not have one, set up Google Tag Manager, install the Header and Footer Scripts on WordPress, and configure Google Tag Manager.
Add Google Tag Manager to your site now and track your website’s performance easily.
Latest Stories
© Innzone Hosting. All rights reserved.