How to Add or Upload WordPress Icons: A Detailed Guide
Looking to enhance your website’s appearance using WordPress icons? This is your lucky day! We will show you a detailed guide on how to add these to your website. Adding these WordPress icons will add lots of options for you to make your website unique.
They are web fonts that you can style by editing your CSS. In our guide below, we will give you two ways to add these icon fonts. So, let us get started!
What Are WordPress Icons and Why Add Them?
WordPress icons or icon fonts are small symbols that represent a feature or function. You can use them to show icons you usually use in WordPress.
Navigation menus, giveaway contests, feature boxes, download buttons, and shopping carts can all use WordPress icons. There are free programs for icon fonts you can try. But to teach you two ways to upload font icons, we will discuss each method.
1. Using a WordPress Plugin
With the help of the Font Awesome plugin, you can easily add icons for WordPress, which is ideal for beginners. This plugin does not require you to add too many coding tags. For this tutorial, we will show you how to use Font Awesome.
Visit Font Awesome’s website first. Click the Start for Free button on the website.
A pop-up message will ask you to enter your email address. Type it in and click Send Kit Code.

Check your inbox and copy the code sent like this one:

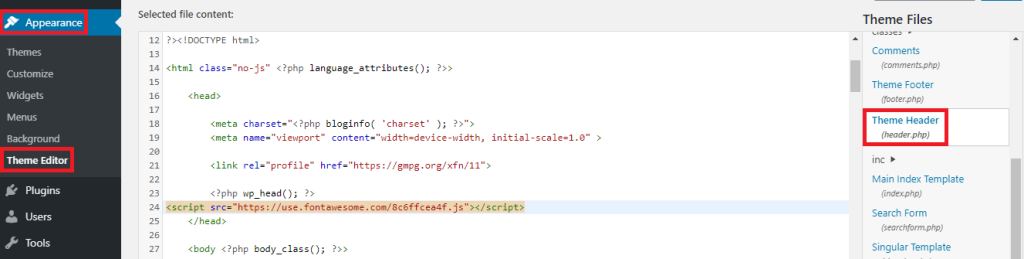
Log in to your website and go to the Appearance section. Select Theme Editor and look for Theme Header (header.php). Click it once you see it. Scroll down the file and paste the code before this tag: </head>. Click Update File at the bottom to save the changes.
You need this code to make the plugin and the uploaded WordPress icons to work.
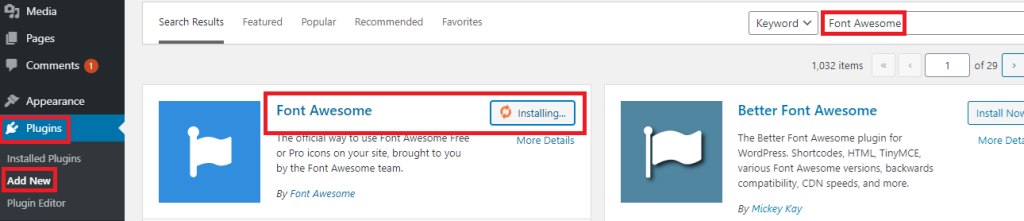
Install and activate the Font Awesome plugin to your website by going to your Plugins section. Select Add New and type the name of the plugin in the search box. Once it appears, click Install Now and then Activate.
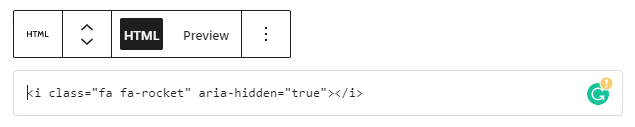
Once it is activated, you can already add icon fonts to your page or post. To know the name of the WordPress icon you will use, go to Font Awesome’s website and search for the name. Use a keyword that best describes the icon. Once you get the name, you can add it to WordPress like this:
You can also style your chosen icon like this:
<!-- wp:paragraph -->
<p>.fa-arrow-alt-circle-up { </p>
<!-- /wp:paragraph -->
<!-- wp:paragraph -->
<p>font-size:50px; </p>
<!-- /wp:paragraph -->
<!-- wp:paragraph -->
<p>color:#FF6600; </p>
<!-- /wp:paragraph -->
<!-- wp:paragraph -->
<p>}</p>
<!-- /wp:paragraph -->If you want to display multiple links with icons, you can have it like this:
<!-- wp:paragraph -->
<p><div class="icons-group"></p>
<!-- /wp:paragraph -->
<!-- wp:paragraph -->
<p> <a class="icons-group-item" href="#"><i class="fa fa-home fa-fw"></i>Home</a></p>
<!-- /wp:paragraph -->
<!-- wp:paragraph -->
<p> <a class="icons-group-item" href="#"><i class="fa fa-book fa-fw"></i>Library</a></p>
<!-- /wp:paragraph -->
<!-- wp:paragraph -->
<p> <a class="icons-group-item" href="#"><i class="fa fa-pencil fa-fw"></i>Applications</a></p>
<!-- /wp:paragraph -->
<!-- wp:paragraph -->
<p> <a class="icons-group-item" href="#"><i class="fa fa-cog fa-fw"></i>Settings</a></p>
<!-- /wp:paragraph -->
<!-- wp:paragraph -->
<p></div></p>
<!-- /wp:paragraph -->You can also style the group of icons like this:
<!-- wp:paragraph -->
<p>.icons-group-item i { </p>
<!-- /wp:paragraph -->
<!-- wp:paragraph -->
<p>color: #333; </p>
<!-- /wp:paragraph -->
<!-- wp:paragraph -->
<p>font-size: 50px; </p>
<!-- /wp:paragraph -->
<!-- wp:paragraph -->
<p>} </p>
<!-- /wp:paragraph -->
<!-- wp:paragraph -->
<p>.icons-group-item i:hover { </p>
<!-- /wp:paragraph -->
<!-- wp:paragraph -->
<p>color: #FF6600</p>
<!-- /wp:paragraph -->
<!-- wp:paragraph -->
<p>} </p>
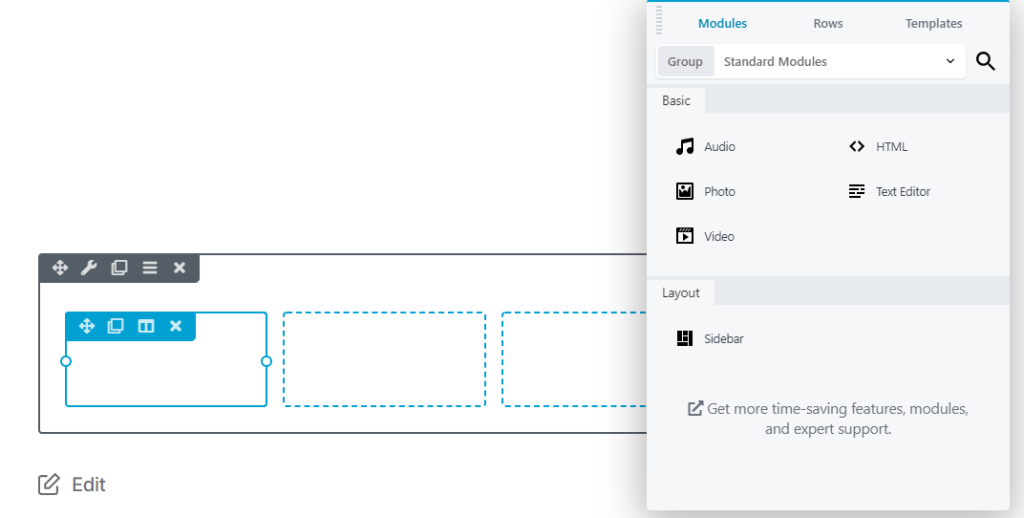
<!-- /wp:paragraph -->2. Using a Page Builder
WordPress page builders typically support icon fonts. One popular page builder is Beaver Builder. You can also install and activate this to your website.
It lets you customize pages without writing codes. It also comes with ready-to-use icons that you can drag and drop.
The page builder allows you to group icons and arrange them into columns or rows. You can also choose the icons’ colours without touching your CSS.
Conclusion
Adding or uploading the WordPress icons is a great way to add fun elements to your website. It makes your site lively and colourful, so site visitors will stay longer in your website. You have two ways to add them: through a plugin and page builder. So, if you want your site to be visually fun, follow our guide in adding WordPress theme icons!