How to Create the Default WordPress .htaccess File
The WordPress .htaccess file plays a key role in handling server requests and storing configuration information. It can disable or enable server features like customized error pages, password protection, caching of files, server signatures, and redirection of URLs. To understand this WordPress file further, let us tell you more about what it is, where you can find it, and how to create and edit it.
What Is the .htaccess File?
.htaccess is a configuration file that is used in commercial web servers. For people who are familiar with Apache, they can edit the file to grant or revoke website resources.
In the case of WordPress, it is different. The file can be used to control a lot of functions on your website. Let us go into more detail.
If configured correctly, .htaccess can force your website to use https instead of http, ensuring security. It can also do the following configurations to adjust to how your website should perform:
- Stopping users by referring URL
- Preventing hotlinking of images
- Whitelisting and blacklisting of IPs
- Password protection
- Rewriting and redirecting of URLs
- Handling server errors
Where Is the .htaccess File’s Location?
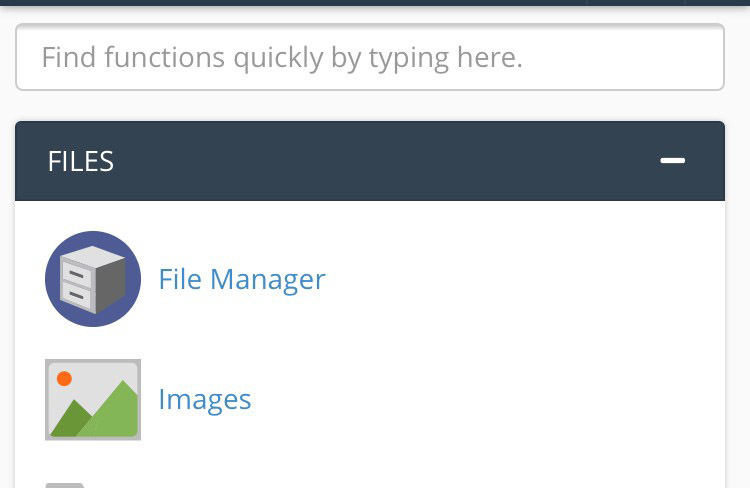
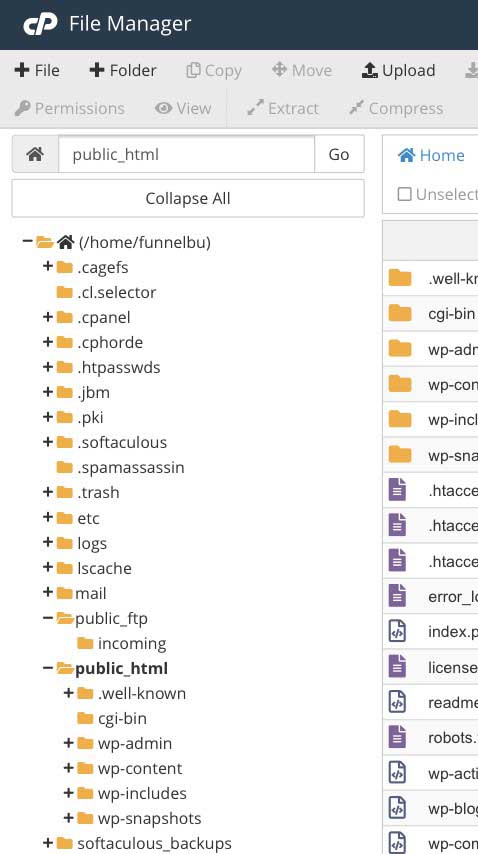
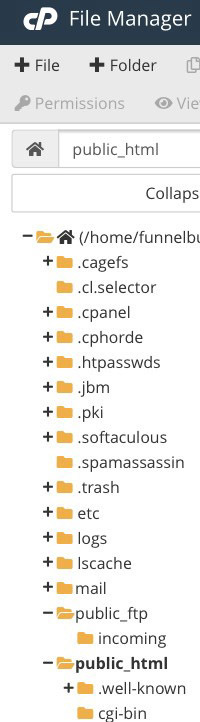
You can see the .htaccess file in the root directory of your control panel provided by your web host. To help you locate the file, log in to your control panel and go to File Manager under Files.
Open public_html, which is your root directory, and look for files with dots. If there is none shown, click Settings at the upper right portion of your screen, choose Show hidden files, and hit Save.
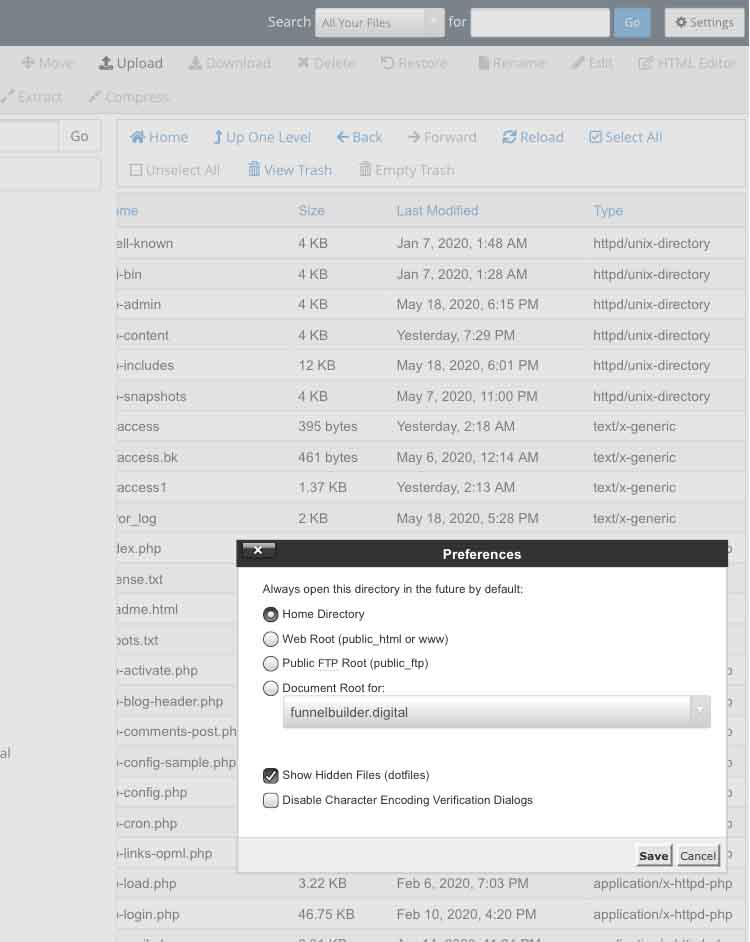
This will allow you to see hidden files in your directory, and you should see the .htaccess file.
How Do You Create the .htaccess File?
WordPress typically creates the file in your directory, but in some cases, it does not. Therefore, it is important to know how to create one.
Once you made sure .htaccess is not in your directory, then you can create one.
1. Using Notepad
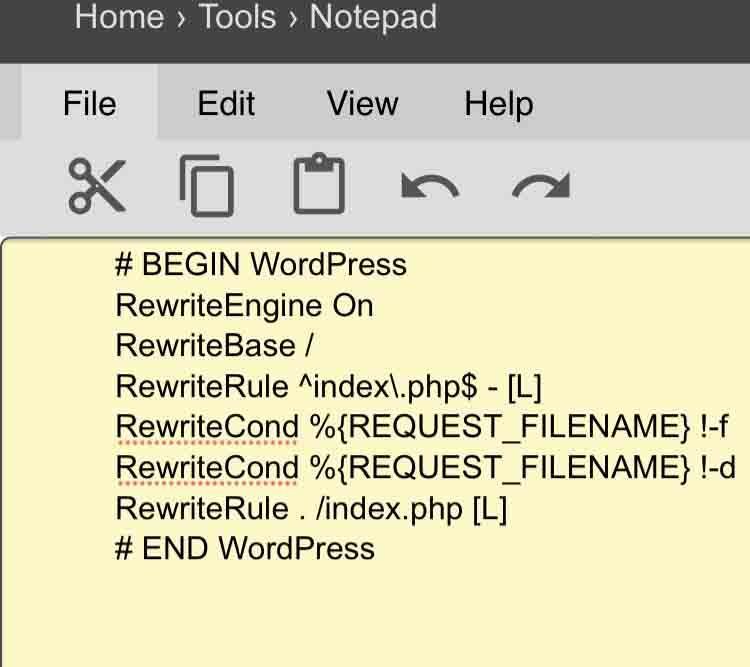
Open Notepad on your computer and enter the following code:
# BEGIN WordPress
RewriteEngine On
RewriteBase /
RewriteRule ^index\.php$ - [L]
RewriteCond %{REQUEST_FILENAME} !-f
RewriteCond %{REQUEST_FILENAME} !-d
RewriteRule . /index.php [L]
# END WordPress
Save the file on your local drive and name it “.htaccess”.
Go to the root directory of your control panel and click Upload at the top to upload the file.
2. Creating Directly on the Root Directory
On your root directory, click +File at the upper portion, name it “.htaccess”, and click Create New File.
Once you see the .htaccess file listed, right click on it, and select Edit. On the edit page, paste the code mentioned above and click Save Changes.
How to Edit the .htaccess File
Now that you know how to create the .htaccess file, you can also edit it in three ways.
1. Using cPanel
As mentioned earlier, go to your root directory, and find the file. If you cannot see the .htaccess file, go to Settings and tick the box for hidden files.
Once it shows up, right click on it, and select Edit.
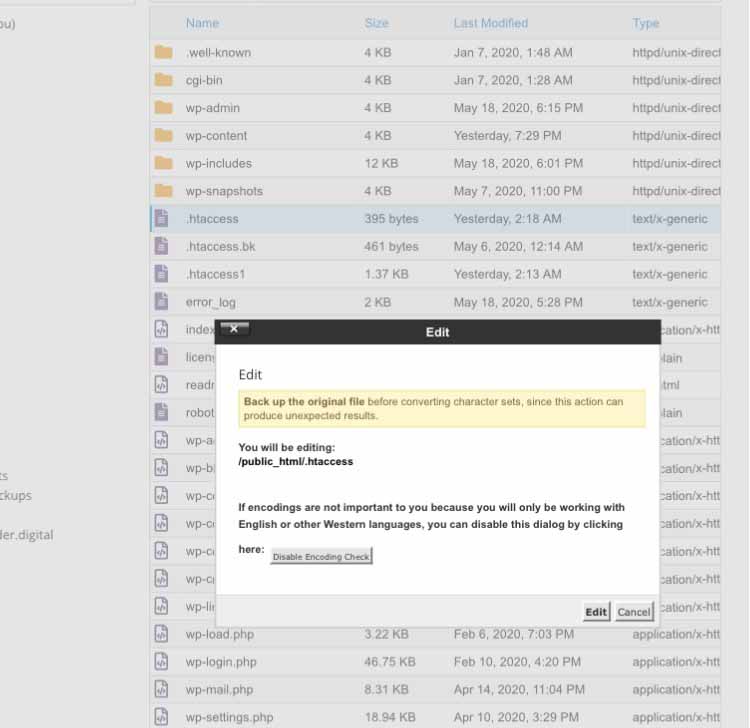
You will be directed to the edit page. From there, you can modify the file based on the type of configuration you want.
2. Using the WordPress Dashboard
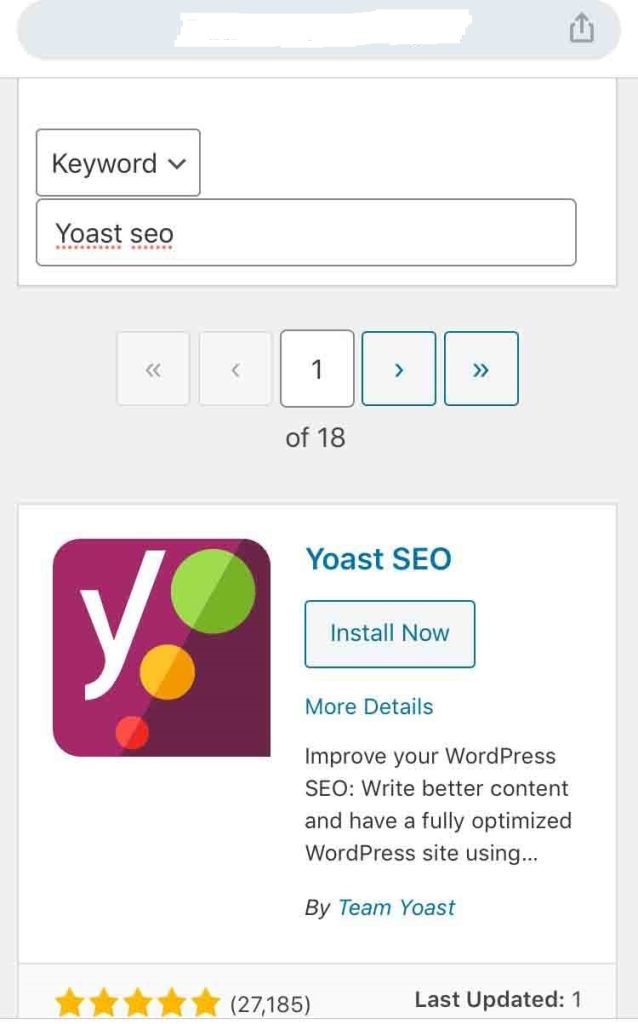
If you want to edit .htaccess through your website, you need to install the Yoast SEO plugin. To install the plugin, go to Plugins from your Dashboard menu and choose Add New.
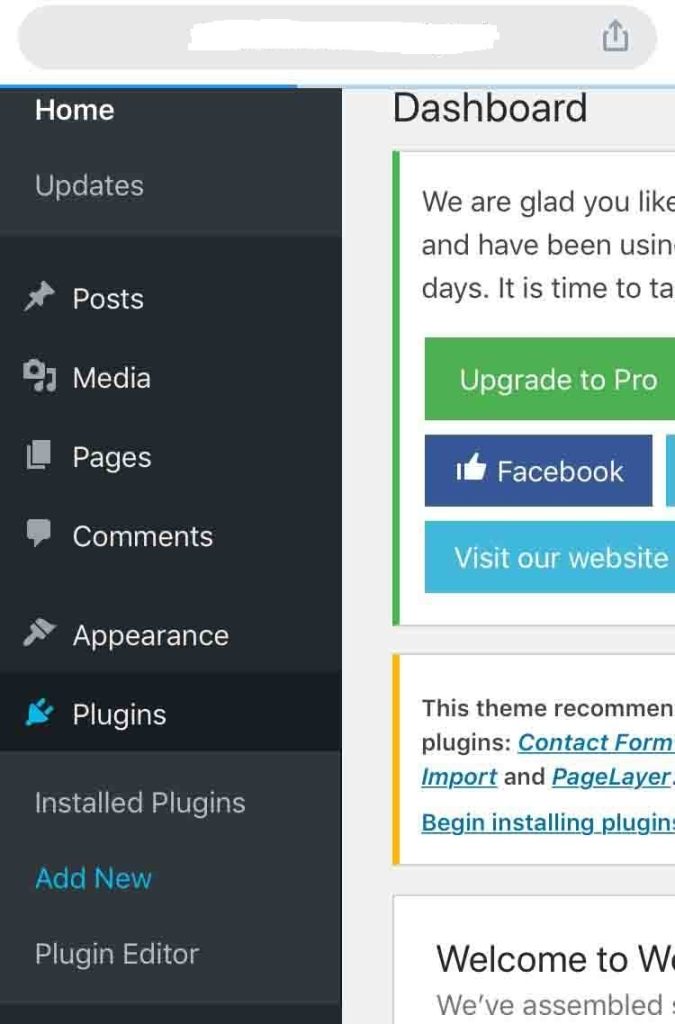
Search for the plugin on the search box. Once it appears, click Install Now and then Activate. You will then see the plugin on your Dashboard menu.
Open Yoast SEO and select Tools and then File Editor.
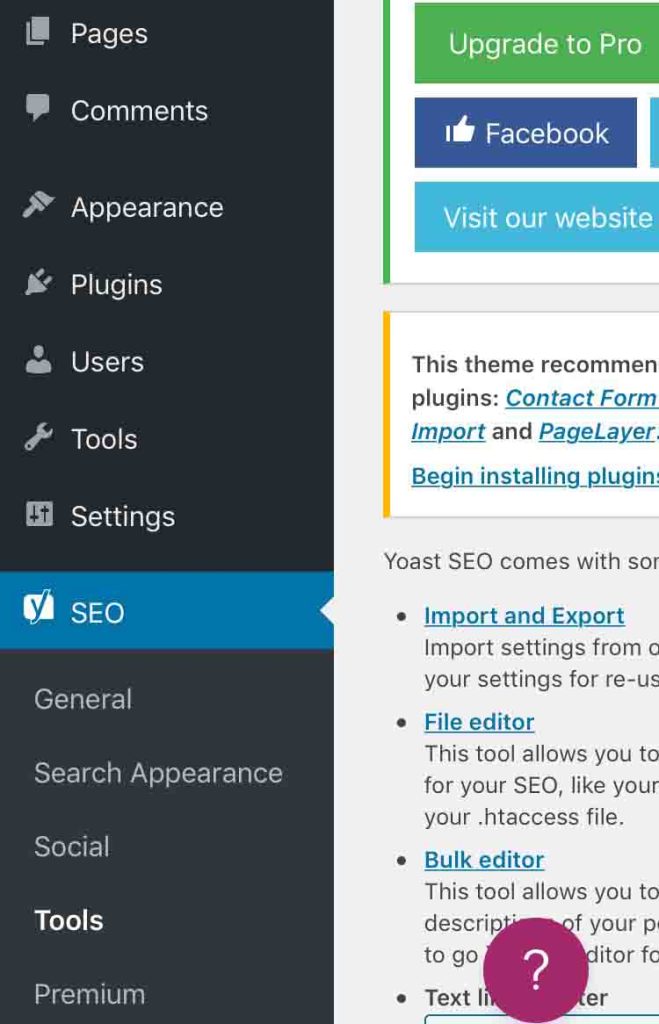
Scroll down the page and stop at the .htaccess file section to edit it.
Click Save changes to .htaccess once you are done with the modification.
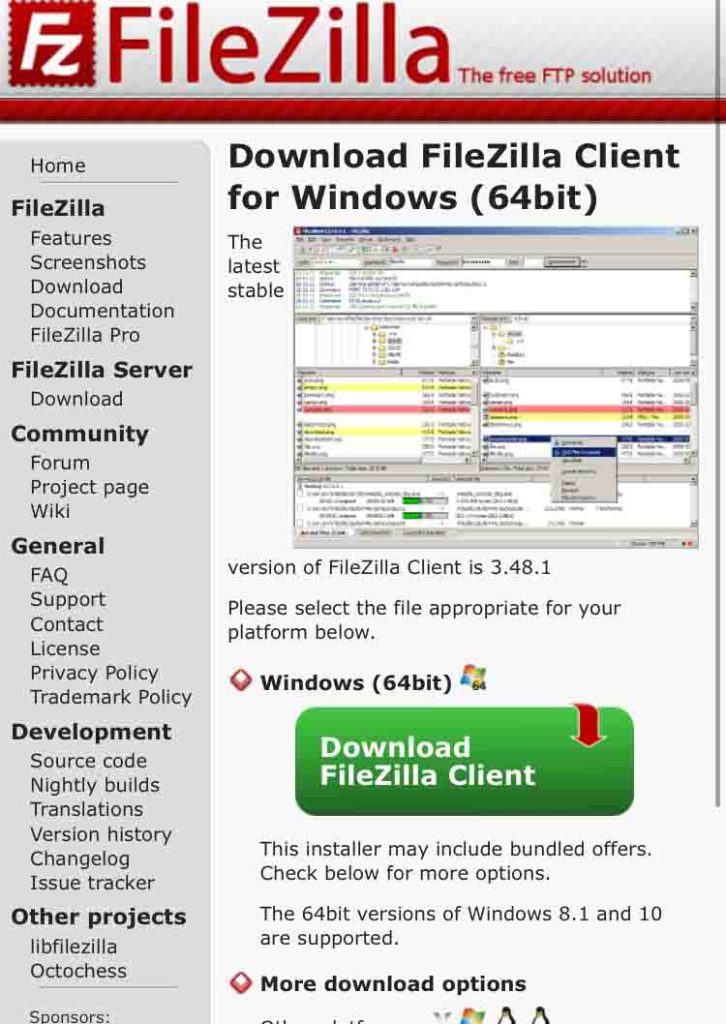
3. Using the FTP Client
FTP means file transfer protocol, which is used to transfer files between the server and the client. You can download a free one such as FileZilla.
Once you downloaded the program, create an account for it and then log in. Select Server at the upper portion of your screen and then check Force showing hidden files.
Look for your domain’s root folder and then download .htaccess from there. Once the download is complete, you can edit the file.
Common Configuration Options for .htaccess
1. Redirect Site Traffic
If you decide to change your permalink for various reasons, you can use .htaccess 301 redirect. This lets site visitors be routed to your live website.
To do this, edit .htaccess and add this code at the bottom:
Redirect 301 [old permalink] [new permalink]
Our .htaccess example looks like this:
Redirect 301 https://www.example.com https://www.example2.comYou can use this code to redirect each page.
2. Protect Sensitive Website Files
You can use the following code at the bottom of the file to protect htaccess/htpasswds files, error_logs, php.ini, and wp-config from a web access:
<!-- wp:paragraph -->
<p><FilesMatch "^.*(error_log|wp-config\.php|php.ini|\.[hH][tT][aApP].*)$"></p>
<!-- /wp:paragraph -->
<!-- wp:paragraph -->
<p>Order deny,allow</p>
<!-- /wp:paragraph -->
<!-- wp:paragraph -->
<p>Deny from all</p>
<!-- /wp:paragraph -->3. Force an SSL Connection
An SSL is a secure sockets layer that is a standard security tool to establish an encrypted link between a client and server. Use this code to force an SSL connection:
<!-- wp:paragraph -->
<p>SSLOptions +StrictRequire</p>
<!-- /wp:paragraph -->

<!-- wp:paragraph -->
<p>SSLRequireSSL</p>
<!-- /wp:paragraph -->

<!-- wp:paragraph -->
<p>SSLRequire %{HTTP_HOST} eq "www.WordPress.com"</p>
<!-- /wp:paragraph -->

<!-- wp:paragraph -->
<p>ErrorDocument 403 https://www.WordPress.com</p>
<!-- /wp:paragraph -->
Conclusion
Creating the .htaccess file is extremely easy because you can do it through your control panel or Notepad. The file is key to the many important configurations like password protection to your WordPress to enhance your website’s performance.
If you want to make some configurations to your .htaccess file, follow the codes listed above. But if you would like help with the file, you can contact our support team, and we will do it for you!